Bat
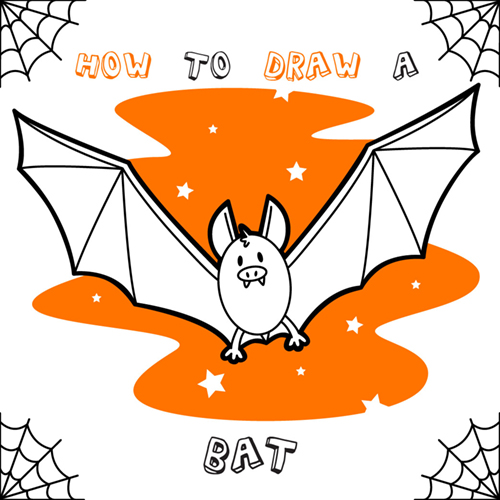
Bats are iconic halloween creatures, so let's try to draw one! This tutorial will try to teach you how to draw a happy, flying bat. This step by step guide on HelloKids will help you to make your Halloween a little bit more spooky! Have Fun!
Step 1
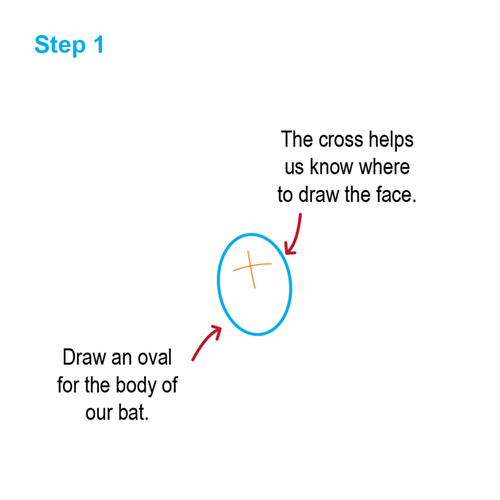
Draw an oval for the body of our bat. The cross in the middle helps us know where to draw the face.
Step 2
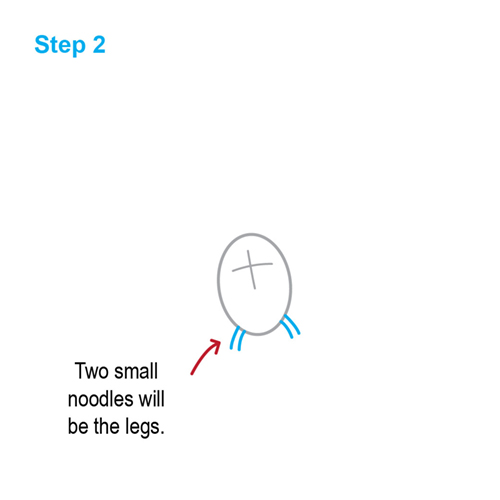
Two small noodles will be the legs.
Step 3
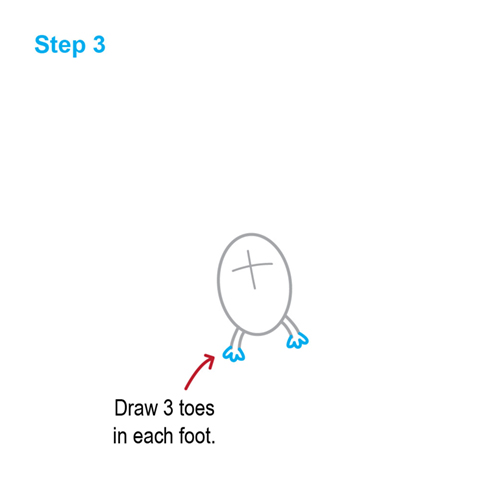
Draw three toes on each foot.
Step 4
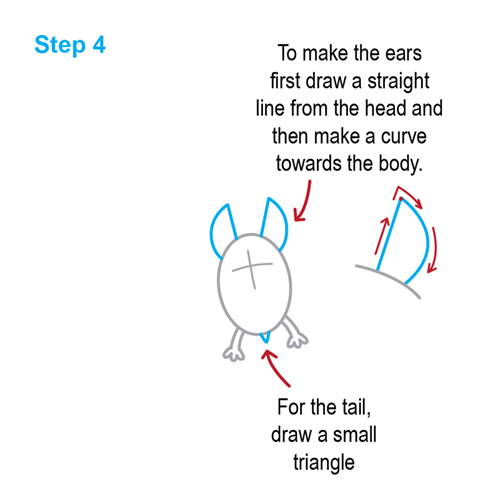
To make the ears first, draw a straight line from the head and make a curve towards the body. For the tail, draw a small triangle.
Step 5
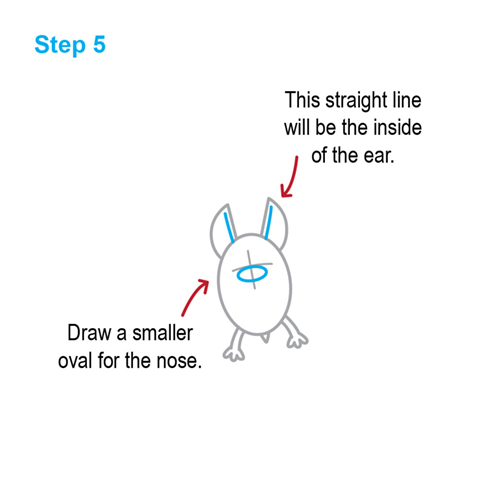
Add another straight line inside of both ears, to mark the inside edge of the ears. Draw a smaller oval for the nose.
Step 6
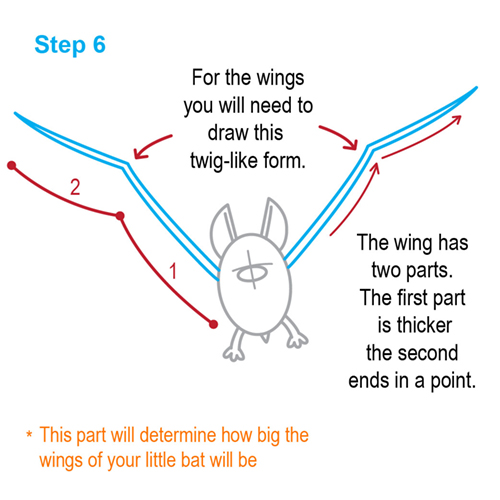
For the wings you will need to draw this twig-like form. The wing has two parts. The first part is thicker, the second part ends in a point.
Step 7
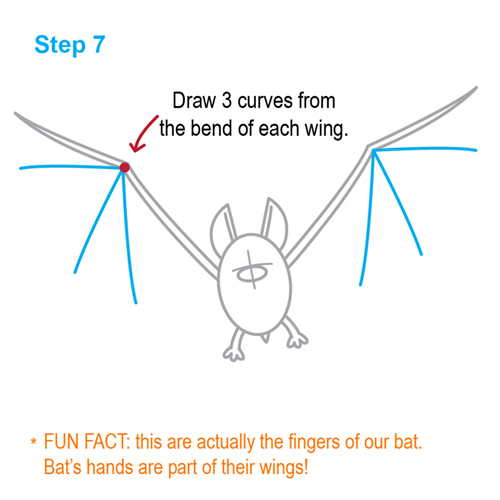
Draw three curves from the bend of each wing.
Step 8
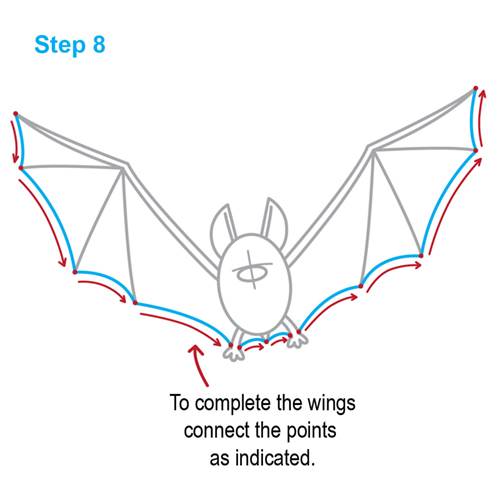
To complete the wings, connect the points as seen on the image.
Step 9
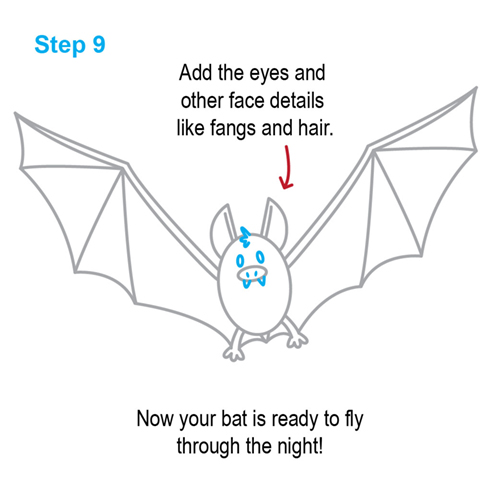
Add the eyes and other face details, like fangs and hair and your bat is ready to fly through the night!