How to Draw Barbie
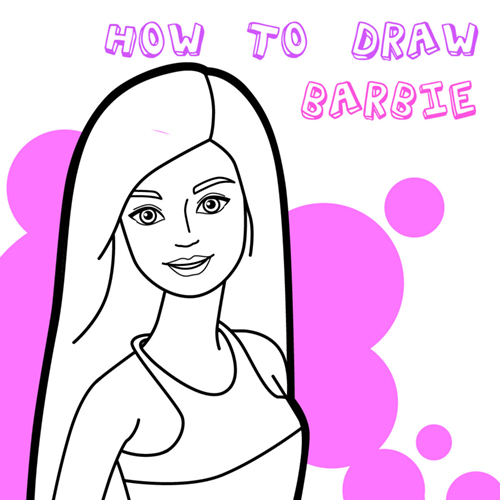
Barbie always looks great, and this How to Draw Barbie tutorial is no exception. This step by step guide will teach you how to draw and personalize your own Barbie design. So grab a pencil, paper, an eraser, and some markers to get started!
Step 1
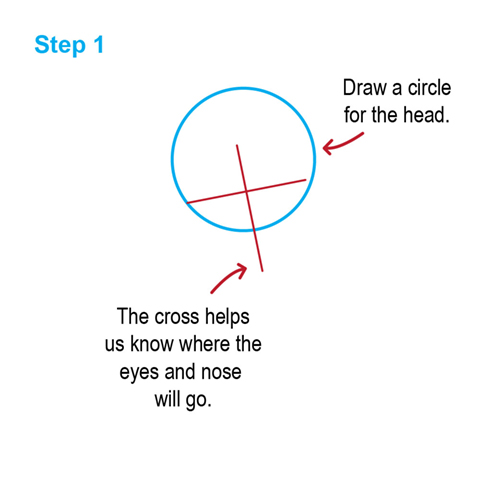
Draw a circle for Barbie's head. Add a cross toward the middle-lower portion of the cirle. These are the guide lines for Barbie's face.
Step 2
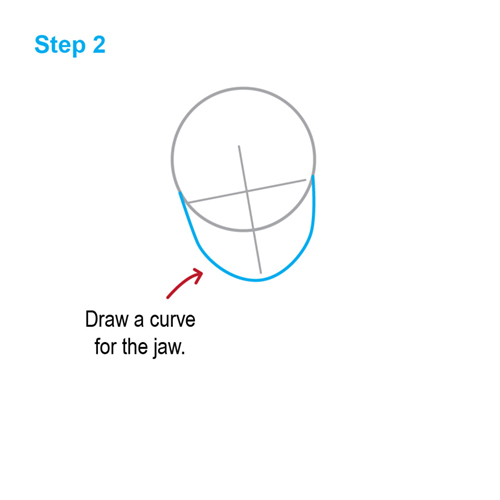
Draw a curve below the circle and cross to make the jaw.
Step 3

Draw a long tube under the curve. This will be Barbie's neck.
Step 4
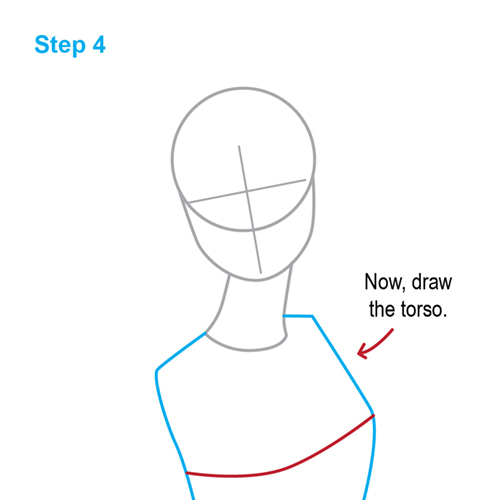
Draw the torso below the neck.
Step 5
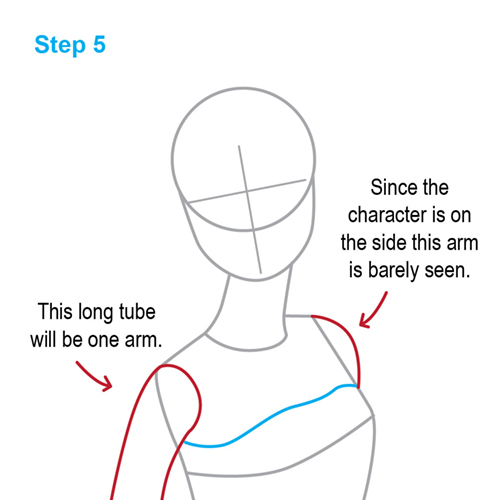
A long noodle-like tube will be the right arm. Since we're looking at Barbie from the side, you can hardly see her left arm. All you have to do is draw a curve on the other side of the torso, just like in the image.
Step 6
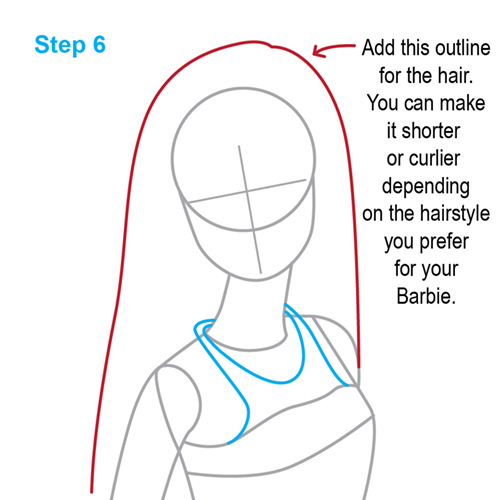
Add the outline for Barbie's hair. You can create any haircut you like for your Barbie. You can make her hair short, curly, wavy, or straight.
Step 7
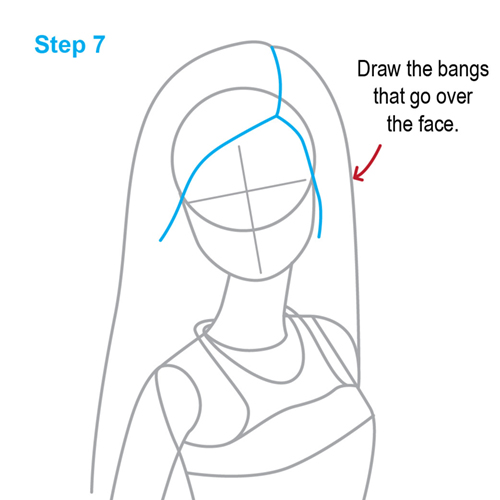
Draw lines where Barbie's hair covers her face. We've given our Barbie a side parting.
Step 8
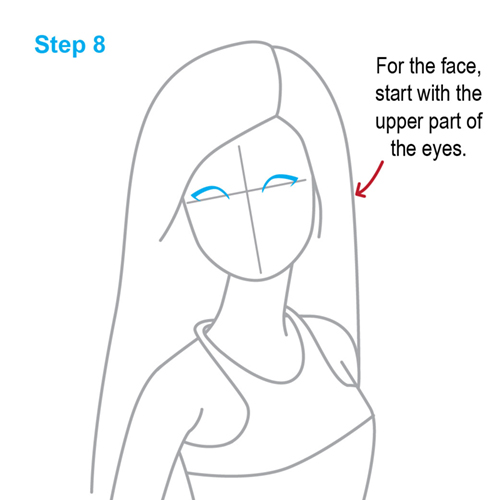
To draw Barbie's face, start with the upper part of the eyes.
Step 9
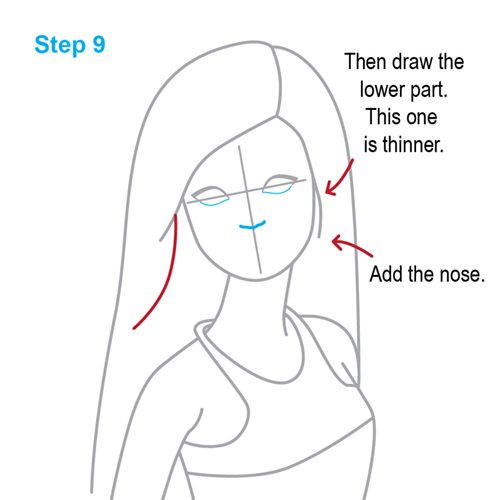
Now draw a curve for the lower part of her eyes. Make this line thinner than the top line. Add a little curved line for the nose.
Step 10
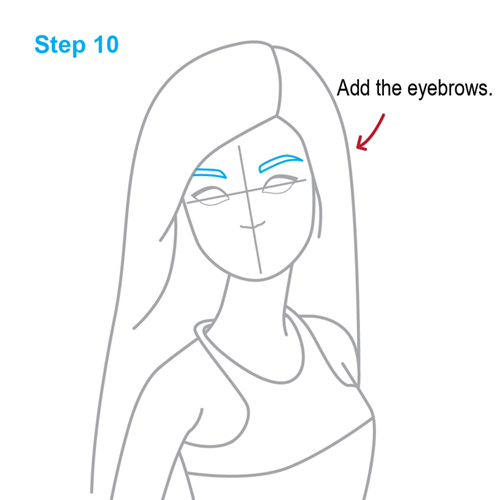
Give Barbie some eyebrows.
Step 11
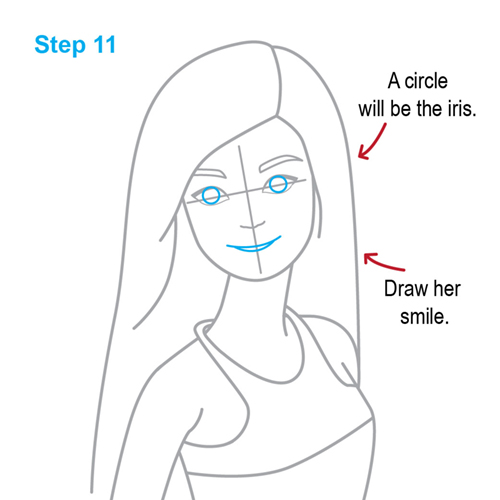
Draw a circle inside each eye to make the iris. Draw a smile.
Step 12
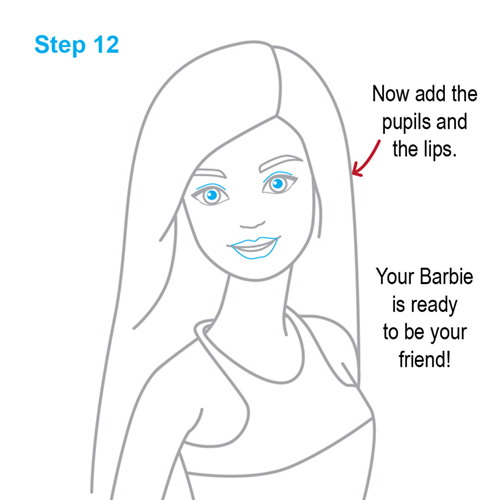
Inside each iris, add a dark circle to make the pupil. Add the lips to complete Barbie's smile. Now your beautiful Barbie is done!