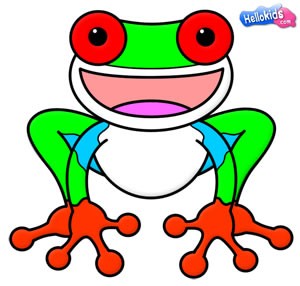
How to draw a Red-Eyed Tree Frog
Learn how to draw this little Red-Eyed Tree Frog from Costa Rica of your very own.
You will need:
- Pencil
- Pen
- Eraser
- Paper
- Colored pencils or crayons
- Ruler (suggested)
Jeff's Tips & Ideas : Use lightly sketched pencil lines first for the structure. After, use a pen to draw in the final lines. When you're finished, erase the underlying pencil lines to reveal your drawing. Then - color it!
Let's start! Follow step by step our easy indications below !
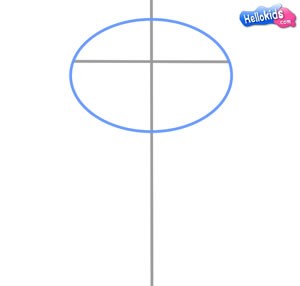
STEP 1
Begin your frog by shaping its head, symmetrically around a center line. Makes for a nice little guide to maintain proportion.
STEP 2
Visualize its body and hands with simple shapes. Either draw this, or think it! :-)
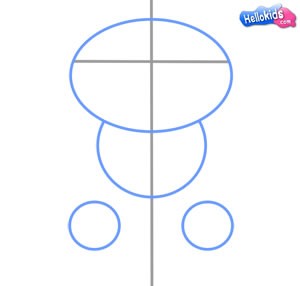
STEP 3
Position the legs. Play around until you get a structure you like.
STEP 4
Big circles for eyes. Later - they'll be red!
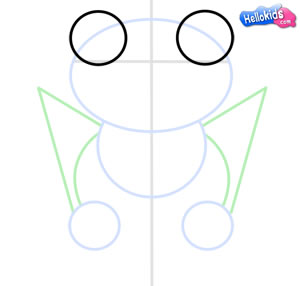
STEP 5
Position the head about the circle. Notice the curve to bring the eyes together at the top.
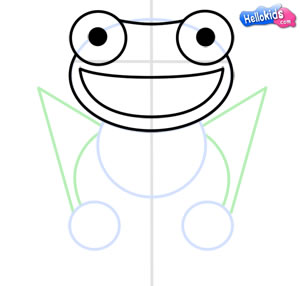
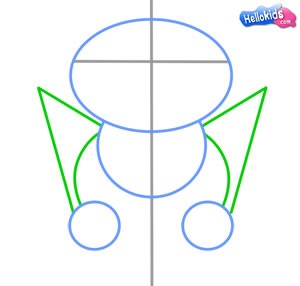
STEP 6
Simple arcs for arms...
STEP 7
Three-toed 'spoke-like' hands can be brought into view like so...
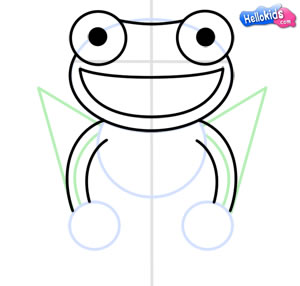
STEP 8
Circles for toes!

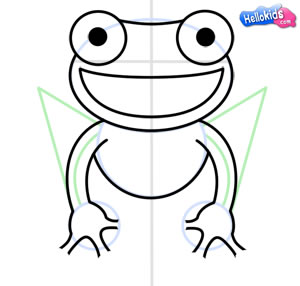
STEP 9
And now the legs - easy to draw I think... fall in behind - obscured by that which lies in front.
STEP 10
A tongue to catch flies! :-)

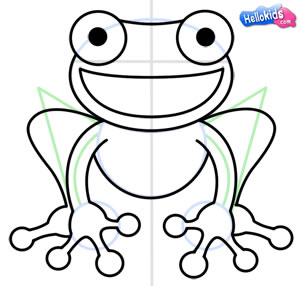
STEP 11
And there it is complete...
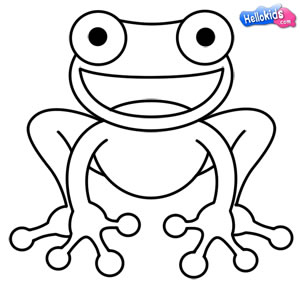
And finally - a vibrantly colored tree frog... native to Costa Rica. Hope you had fun with this lesson!
Here is a drawing of a cute frog made by Jeff Scarterfield ! For more lessons by Jeff, check out his website at How-to-Draw-Cartoons-Online.com.
Happy Drawing! :-)