How to Draw a Peacock for Kids
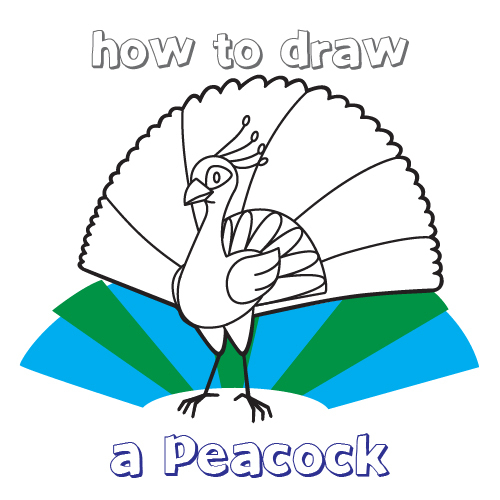
Hi there! Welcome to our free tutorial on how to draw a peacock for kids.
Step 1
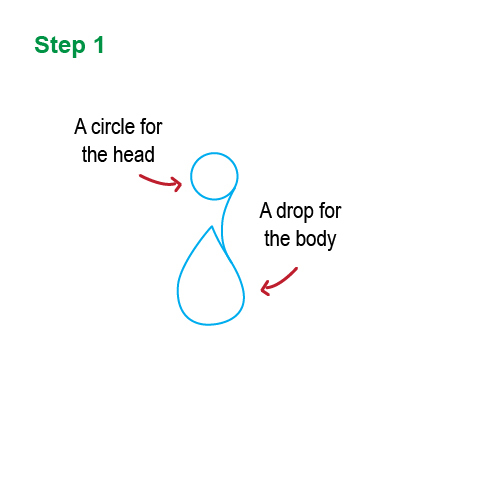
We're going to start with the body of the peacock. We use a circle for the head and a drop for the body.
Step 2
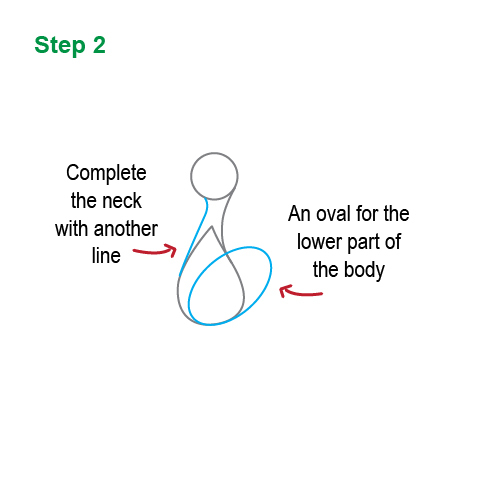
Complete the neck with another line and add an oval for the lower part of the body.
Step 3
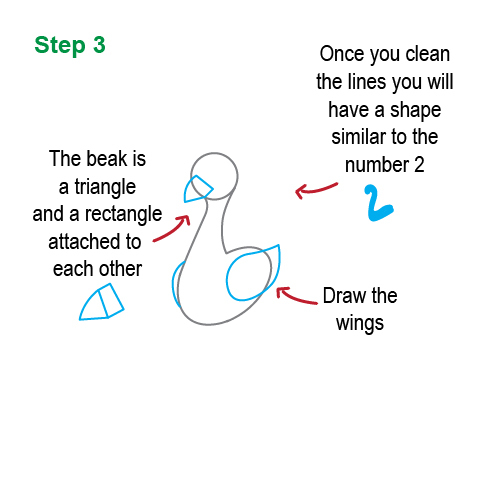
Once you clean the lines you will have a shape similar to the number 2. The beak is a triangle and a rectangle attached to each other. Finally in this step we're going to draw the wings.
Step 4

Peacocks have really amazing tails, to make the tail we're making half a circle for the base. Two curvt triangles will make the thighs.
Step 5
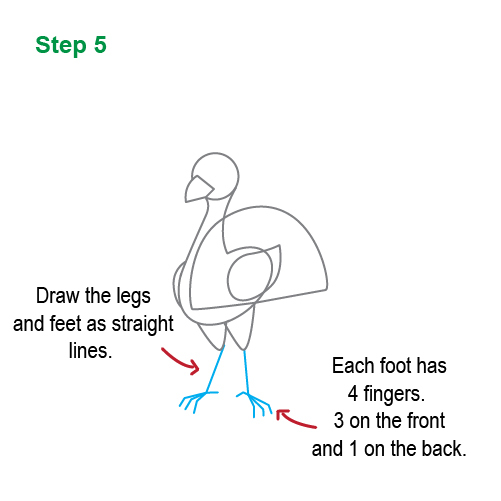
Draw the legs and feet as straight lines. Each foot has 4 fingers, 3 on the front and 1 in the back.
Step 6
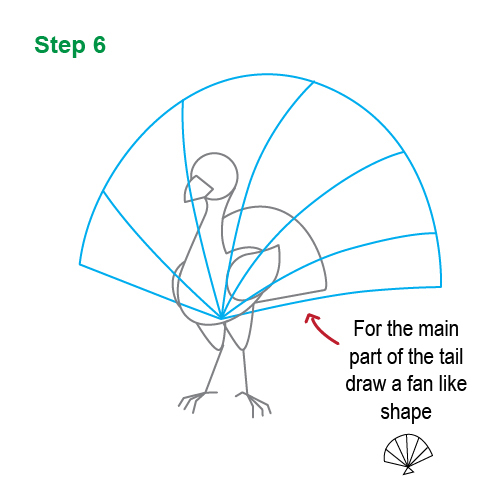
For the main part of the tail, draw a fan like shape.
Step 7

Draw feathers inside the base of the tail.
Step 8
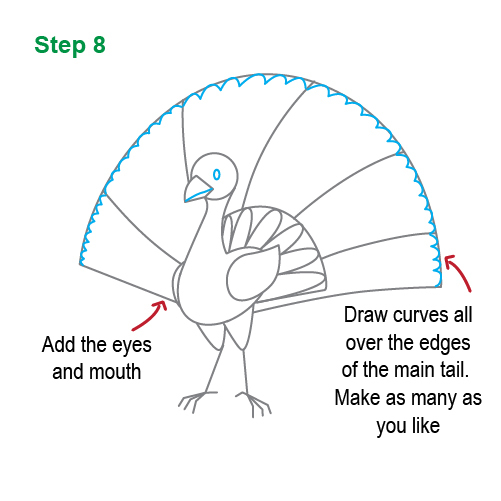
Final details for the tail, draw curves all over the edges. You can draw as many as you like. Add the eyes and mouth for the face.
Step 9

Time to add the final details to your peacock. Your peacock is now ready to dazzle everyone.
We hope you enjoyed this tutorial on how to draw a peacock. Don't forget to give it some nice colors!