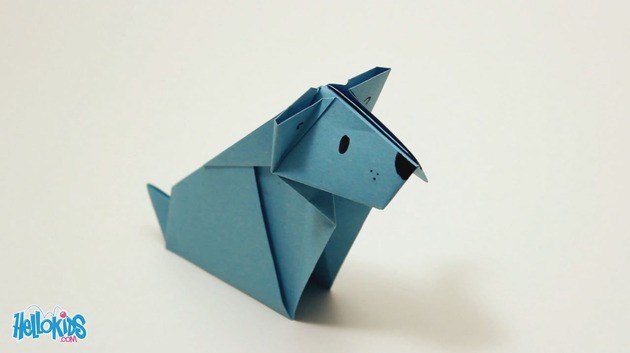
Origami Dog
In this tutorial, you will learn how to make a nice origami dog. It is very easy!
Necessary materials
- A square piece of paper
Steps to make an origami dog
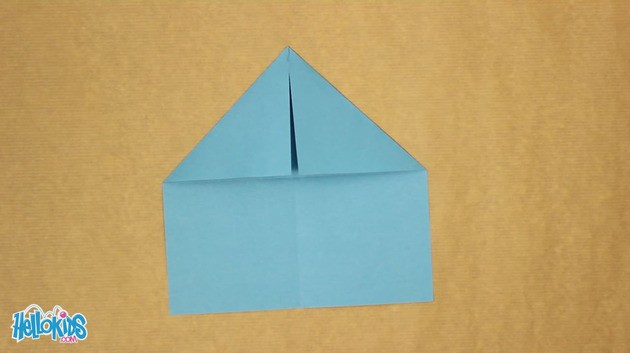
- Fold the piece of paper into half horizontally, then vertically, and open it again.

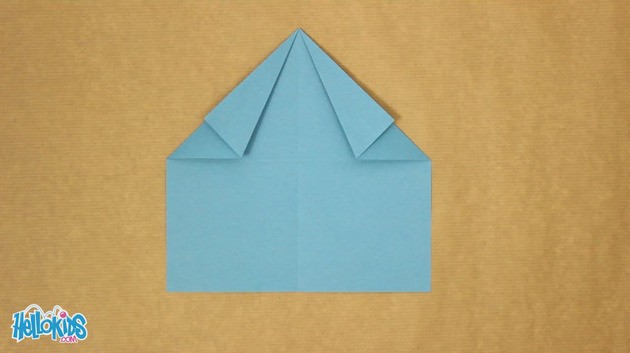
- Fold the top corners to the center of the piece of paper now marked.
- Fold down these last two folds, along the two diagonals.
- Fold them up now along the same diagonals.
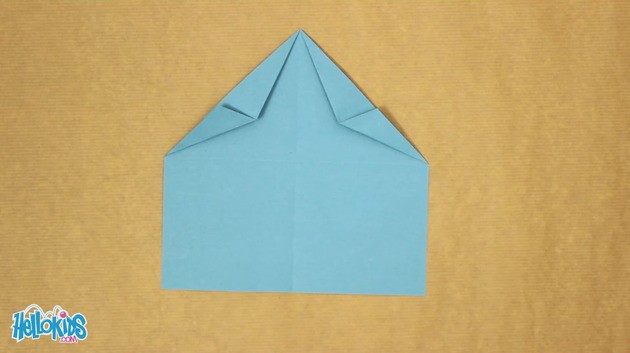
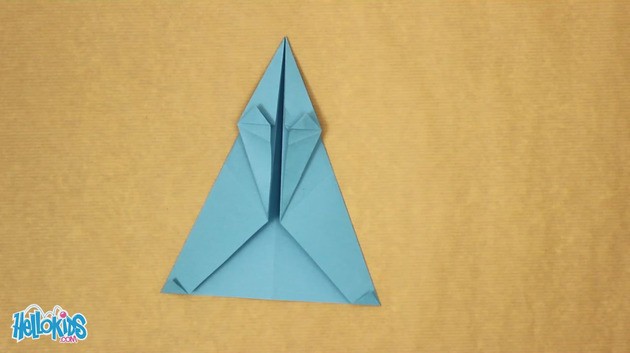
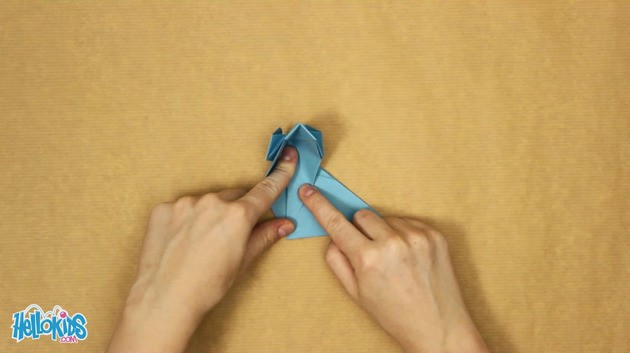
- Unfold the last two folds, then fold the two upper cornern of the piece of paper toward the center, to the diagonals just on the side.
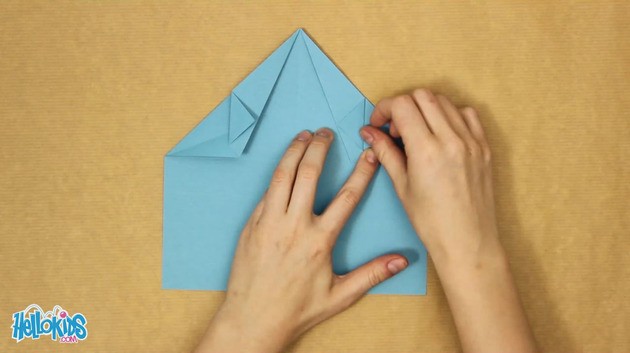
- Pull up a bit this part and flatten toward the outside of the origami.
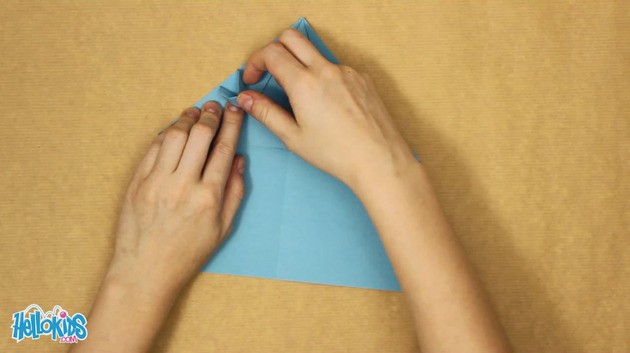
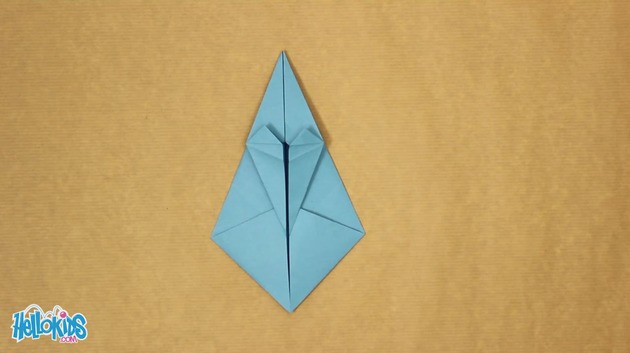
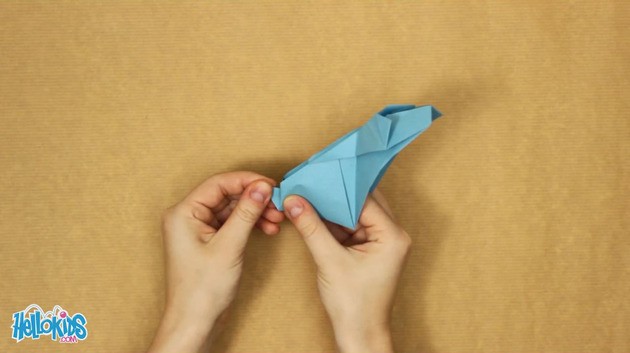
- Turn over the origami, and fold the right side and the left side along the middle line.
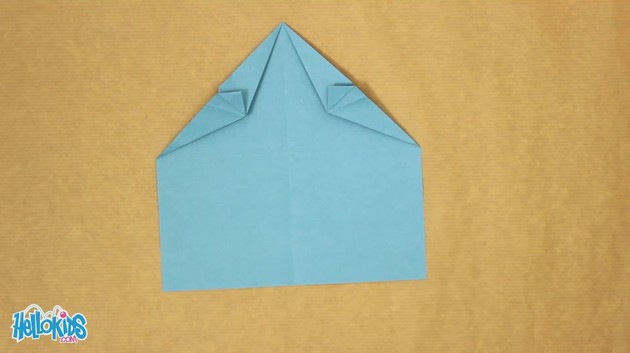
- Fold up the two little triangles at the bottom.
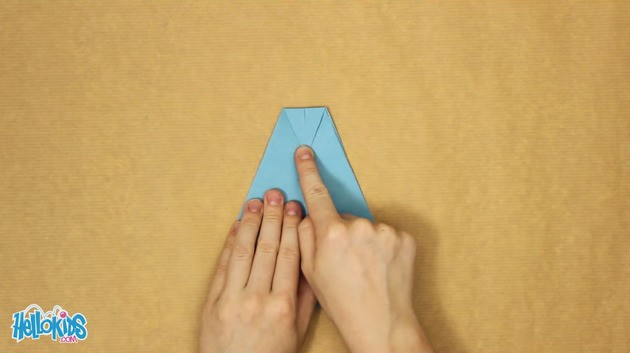
- Fold up the two corners at the bottom of the triangle, along the central line. Slip them underneath the folds.
- Turn over the origami, and fold a bit the end of the top.
- Turn it over again, and fold it into half along the middle line.
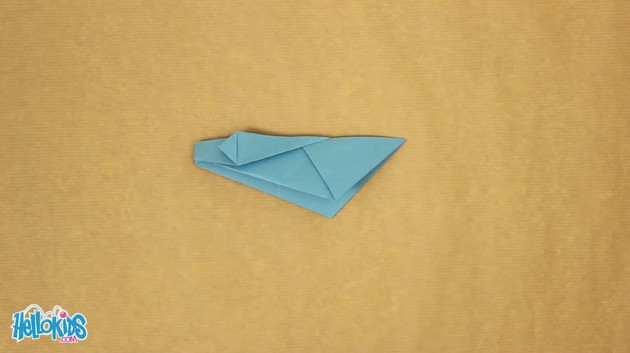
- Hold the bottom of the origami, and open the upper part of it. Flatten it a bit on both sides. It's the head of the dog, with its two ears.
- Fold up the point opposite to the head, inside the body. It's the tail.
You're done! Move the head a bit so it's right, draw eyes and nose, and it will be perfect!