

Stipple Shading technique
 Drawing Textured Wood
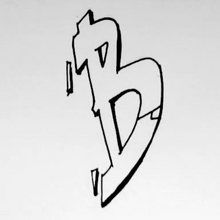 Draw a B in graffiti style
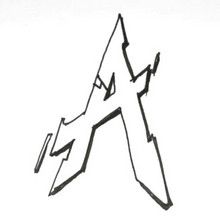 Draw letter A in graffiti style
 Draw Shadows
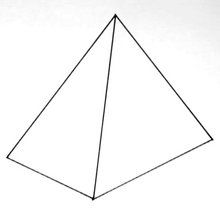 Draw a Pyramid
 Draw a Street in perspective
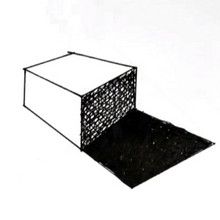
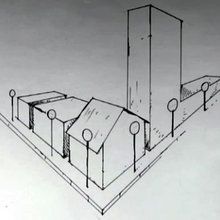
 Draw a House in perspective
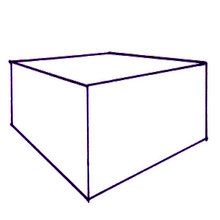 Draw a Cube
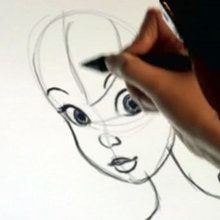 How To Draw Tinkerbell
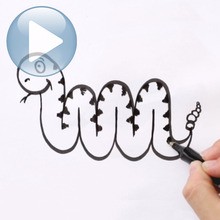 Draw a Snake starting from letter M
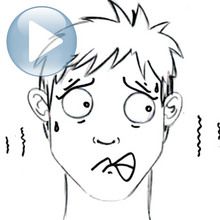 Drawing Facial Expressions: Fear
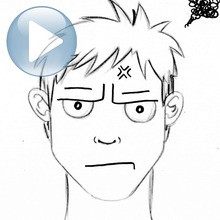 Draw A Facial Expression: Irritation
This drawing lesson will teach you the art of very specific pattern of dots. Also called the "DOT"(the word dot in English means "dot").
This is a technical way as any to introduce shadows on an object that you drew. In this video, the artist HAS chosen to apply it to a bottle, but you can do it on any object.
Step One: Draw a bottle
- Take a compass and draw a quarter circle. This will Be the bottom of your bottle.
- Then take a ruler and a square. Approximately met ruler 45 ° angle and just position your stop on the ruler.
- Trace the building lines of the bottle keeping the ruler in the same way.
- Provides some details to your drawing using building lines.
- Once you are satisfied with the your level of detail, the major traits returns with a black fineliner.
Step Two: Points
- Now we need you apply shadows to your design. Imagine placing a scource of light and where it will cast shadows.
- This step is important. You can start by tracing the shadows with a pencil (it will then erase)
- Take your felt and track end item by item by tapping your point more tight Will be over the marked shadow. Discarding more items, you create a sort of gradient.
- HOWEVER, Try to put dots everywhere on your drawing.
- You'll see that this is quite technically laborious and the rendering is fascinating because there is a lot of details.
Tip: Take plenty of time to plot each issue. If you go too fast the result will be less attractive.